"Breaking and Entering..." (3x20) is the twentieth episode of the third campaign of Critical Role. With the heist underway, Bells Hells explore the traps and trinkets of the Twilight Mirror Museum, finding unexpected dangers as they venture deeper into the vault...
Synopsis
Announcements
- The return of The Nordverse! The hacker spirit of BlackWillow69 was successfully transferred into CryptonicOverride's body, creating a horrific amalgam of Sam and Laura. CryptonicOverride and BlackWillow69 give each other a Gollum-y cyber pep talk, since they share a body. Oh, and use code "criticalrole" at Nord VPN to get a 2-year plan plus a bonus gift.
- The Critical Role Foundation has teamed with Stephen Colbert to help end child hunger through Red Nose Day. Join Stephen, Matthew Mercer, and some of the cast on 28 April 2022 at 7:00 pm Pacific to see the adventure shaped by Critter donations.
- Merch Alert! Critter nesting dolls, Essek keychain set, and Vox Machina Chibi vinyl sticker set now available... somewhere. Check your store, see if it's there!
Previously on Critical Role
So, last we left off, Bells Hells had made their way to the Heartmoor Hamlet on the northern edge of the Oderan Wilds, both to meet up with an individual who was present for the assassination of the Lumas twins and gain some information about that thread that has been tugging since the beginning of you meeting each other, and to check into a particular gig that was given to you, Ashton, to meet up with an individual, a Mr. Evon Hytroga, who is the owner, purveyor, and the excitable figure behind the Twilight Mirror Museum here in the Heartmoor Hamlet, who after a botched break-in at Hexum's manor, decided to show off how stringently strong and effective his museum's defenses have been constructed and upped since. You were all sent by Hexum as part of a wager to break in and steal a particular item within this museum before sunrise.
Upon meeting Mr. Hytroga himself, he gave you a few ground rules: You have until sunrise starting at midnight, so roughly five and a half or so hours to find within the museum, which resides somewhere in his ridiculous manor, a particular object, specifically the Wind Folly, which is an earring. You also are not the only ones doing this. There is a secondary team that is sponsored by Mistress Isha Sabanis that is going to be competitively searching for this at the same time. The winner, which can procure this object and return it to the hands of Mr. Hytroga before the sunrise, wins. And should nobody do it, he wins his wager and you all go home dejected. Those of you who survive. To be fair, he did say that he put in a lot of traps and said they're not intentionally fatal. So I'm sure you'll be fine.
But as you gather yourselves, gather your materials, did some shopping, found out some interesting history and some connections between the ruddy moon Ruidus in the sky, you all gathered outside of the museum. And at the strike of midnight, Mr. Hytroga said, "Go!" and you were off.
Part I
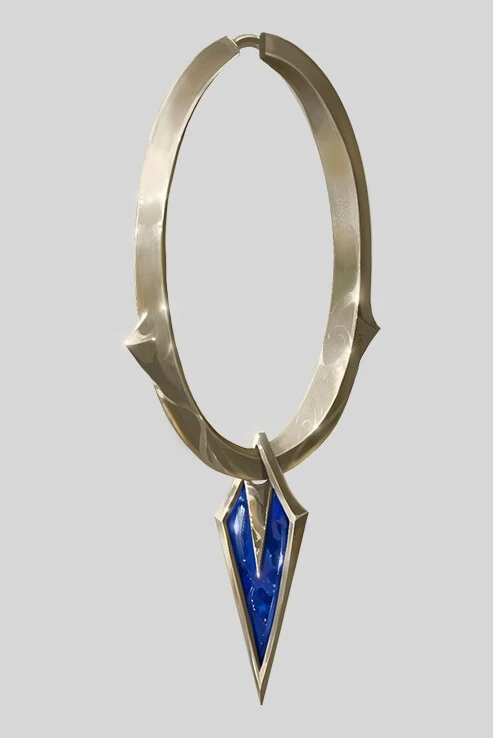
Official art of the Wind Folly earring, by Azraelion.[art 1]
As the competition begins, The Verdict immediately scatters into the nearby bushes and disappears. Bells Hells goes the other way, noticing barred windows on the ground, second, and third floors. Ashton and Chetney head to the back of the building where they see a rope dangling from a second floor window and The Verdict's katari and goblin members climbing up it. Ashton shakes the rope, sending the goblin flying and shrugs off a retaliatory Charm Person. Chetney casts Invisibility on himself and begins climbing the rope behind the katari. The goblin also climbs the rope, cutting it behind him about ten feet up, but Chetney is able to leap to a nearby window sill as the two rivals enter the building, then follow behind them into a guest bedroom.
Ashton rejoins the others and breaks the glass on a ground floor window, allowing Orym to squeeze through the bars into the dining room within, soon joined by Laudna. After Fearne softens the bars with Heat Metal the others are able to bend them and enter as well. They are in a dining room with doors leading to the kitchen and to the main foyer. While investigating the kitchen, Orym sets off a magical trap, taking damage from flying knives and cooking utensils.
The foyer holds multiple paintings, two statues to either side of a central stairway leading upward, the main entrance door, and doors both to the dining room where they are and to another room on the opposite side of the foyer. Laudna uses her immovable rod to block the other door when their rivals try to enter through it. FCG uses Locate Object to learn that the earring they seek is below them. While investigating, Imogen triggers the statues' motion-sensing lightning traps and she and Laudna cover them with carpets. Ashton discovers a secret door behind a painting.
Meanwhile, as Chetney follows the katari and goblin, he sets a fishing line trip wire near the top of the stairs, which catches them when they hear a noise downstairs and move to investigate. He continues to follow them as they instead move up a stairway to the third floor. Fearne joins Orym in the kitchen and they hear the voices of three of The Verdict seemingly arguing in the music room they are blocked into by the immovable rod.
Back in the foyer, FCG discovers and dispels a magical trap on the hidden door, and Ashton picks the lock. Laudna reclaims her rod from the door of the music room, through which they can hear their rivals trying the various instruments, followed by a grinding vibration like a heavy door opening. Imogen throws ball bearings in front of the music room door and at the base of the stairs, and Ashton removes the rugs covering the lightning-shooting statues. FCG shouts loudly to Chetney that the door is in the dining room floor.
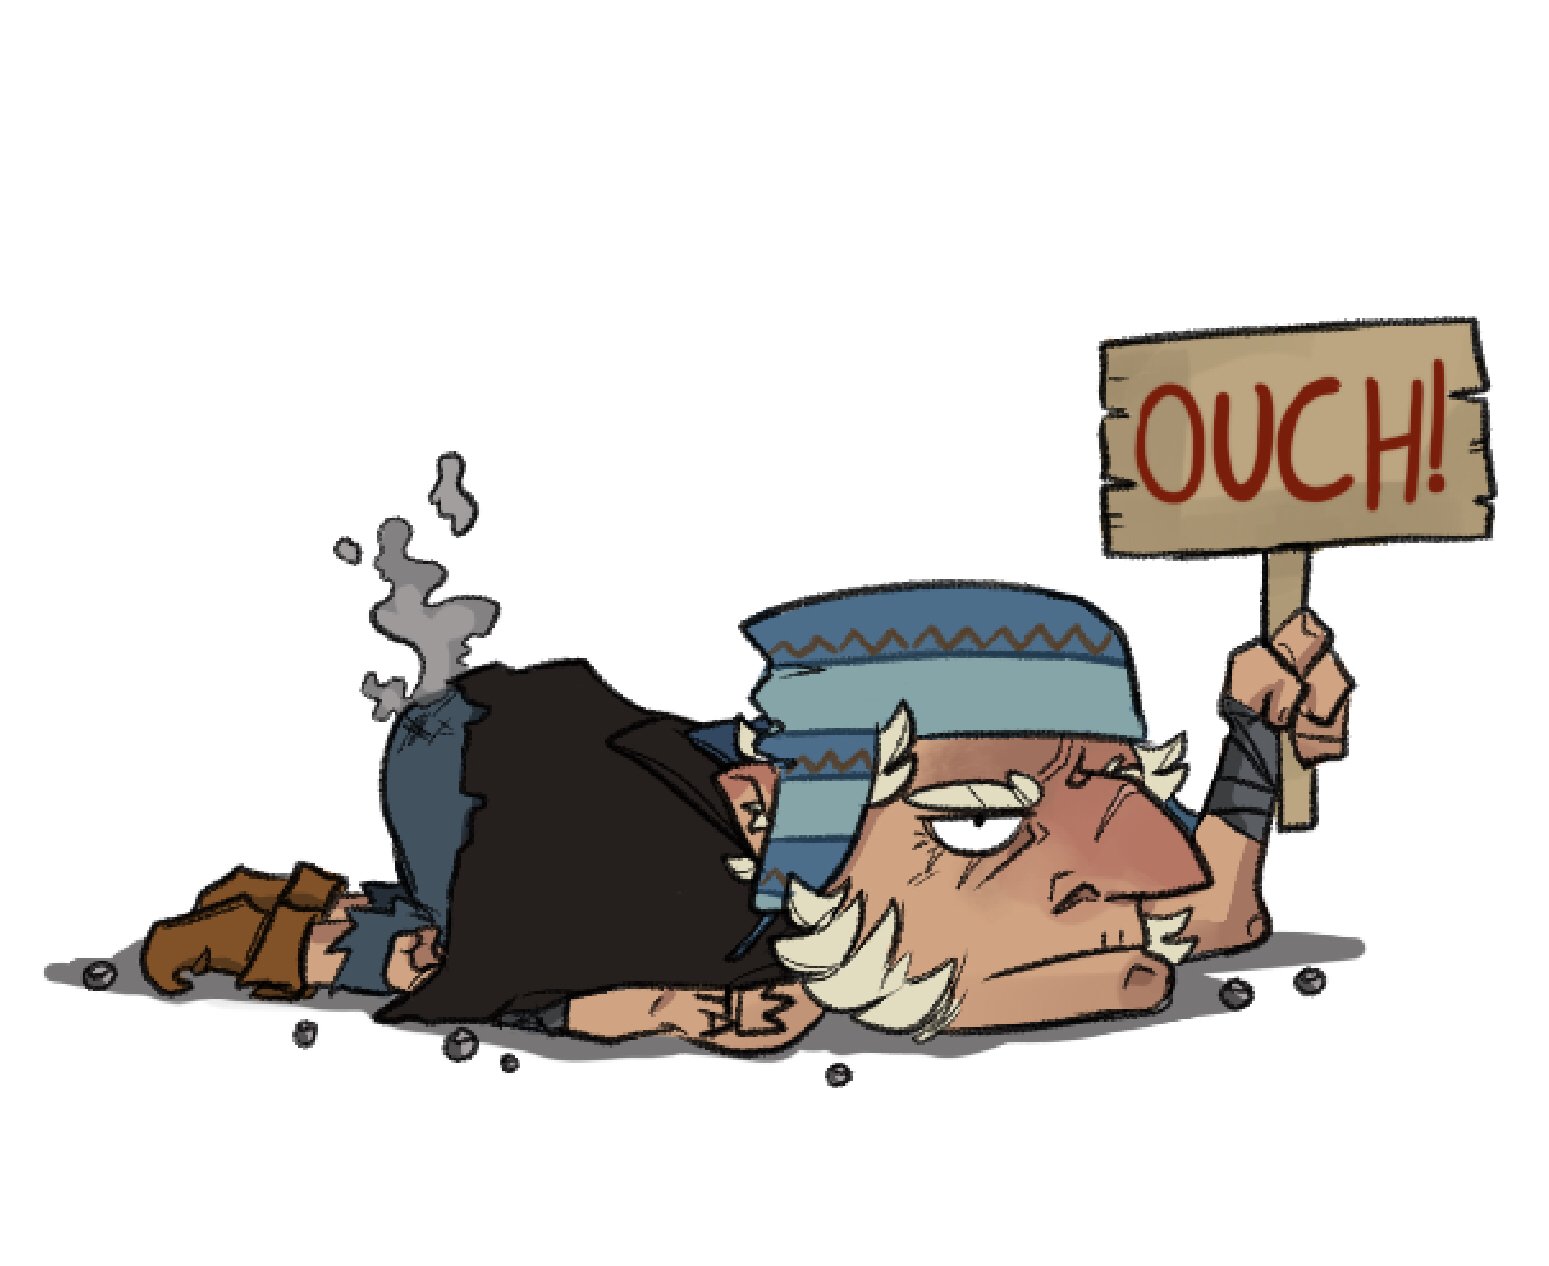
Fan art of Chetney after the booby traps, by Dylan Chinn.[art 2]
Upstairs, Chetney continues following the goblin and katari as they explore the upstairs, setting off a glue trap that pins them to the ceiling. When he hears FCG's shout, he leaves the trapped rivals and goes downstairs, getting hit by the statues' lightning and falling on the scattered ball bearings. Orym and Fearne call him over to the secret door through which the rest of the party has descended. As they close it behind them, Orym booby traps it with a stolen bag of flour and scatters lentils from the kitchen over the floor.
The now-complete party descends into a 40 by 20-foot stone-walled chamber, with large double doors to their right and a corresponding staircase directly across from them. Across from the doors is a platform holding an artifact. Chetney can faintly smell that Tejana has passed through recently. Ashton notices two strangely familiar suits of armor to either side of the doors. When FCG tries to saw through the bar holding the doors shut, webbing shoots out holding all of them but Chetney. Chetney hits Ashton, putting him into a rage, and he frees himself. Chetney then uses fire to free the fire-resistant Fearne, and they eventually help all of the others out, but it has taken valuable time. Ashton batters down the door with his hammer and they reach the next room, finding closed doors leading out to either side, two sets of chitinous Kryn Dynasty armor, and a central artifact resembling the broken frame of a Luxon Beacon.

Fan art of the party hallucinating, by Elaine Tipping.[art 3]
Chetney can smell that Tejana went through the door to the right. As Orym investigates the artifact's dais, the armored statues shift and shoot out gas affecting everyone but Imogen and Chetney. The others all immediately hallucinate the floor collapsing, sending them apparently plummeting into an endless abyss, and FCG's panicked attempt to use his grappling cannon hits Imogen instead. She casts Calm Emotions, calming Laudna, Orym, and Ashton, and mentally communicates to Laudna that it is an hallucination. Chetney slightly wounds Ashton, dispelling the illusion, and they injure the others to bring them out of it as well. Guiltily, FGC casts Cure Wounds on Imogen.
Chetney lockpicks the left-hand door while Fearne opens the one on the right, finding the three members of The Verdict they have been following apparently unconscious on the floor. Laudna casts Darkness in the room in case they wake, before closing the door. Everyone but Chetney moves to the outside room while he opens the left-hand door, revealing another exhibit room and a set of stairs leading downward. As he does, the goblin and katari come down the stairs from the ground floor and spot the party.
Break
- Merch Alert! Critter nesting dolls, Essek key cover set, and Vox Machina chibi vinyl decals set in all five Critical Role shops; Critical Role: Call of the Netherdeep in the US shop only; Shaun Gilmore 12" figure in the US, Canada, UK, and Australia shops.
- Join Stephen Colbert and the Critical Role Foundation to help end child hunger by supporting Red Nose Day.
- Critical Recap every Wednesday on CritRole.com.
- Submit fan art and cosplay for possible inclusion in the weekly online gallery at https://www.critrole.com/submit.
- Jester explains to Duplicate Jester the benefits of subscribing to Critical Role on Twitch. They absolutely, positively comply with Twitch's TOS by definitely not drawing dicks.
Part II
Bells Hells run into the next room and then through the left-hand door, with Fearne kicking over the mask as she leaves and successfully resisting its effects. Chetney tosses his eversmoking bottle into the preceding room before slamming the door closed, and Laudna wedges the immovable rod under the door handle.
Inside, they find a spooky-looking wooden mask and five large marionettes dangling from the ceiling. FCG's Detect Magic reveals that both are magical. As Fearne investigates, the marionettes suddenly drop from the ceiling and animate as if being controlled by an unseen puppeteer. Roll initiative!
Fearne casts Entangle on the marionettes, also catching Orym but preventing most of the puppets from being able to reach the party. Instead, they begin laughing maniacally. FCG, Chetney, Imogen, Ashton, and Laudna all fail their saves, take psychic damage, and start laughing as well, becoming incapacitated. With only Orym and Fearne free, Orym manages to drop one of the marionettes, and Laudna and FCG succeed in breaking free of their laughter. FCG is immediately grappled, however. Ashton and Chetney also succeed in resisting the laughter, but Orym is still entangled and can no longer reach any of the creatures. Laudna drops one, and Fearne gets the rest with Scorching Ray. Imogen keeps laughing but eventually breaks free.
As they descend the stairs, Chetney and Laudna cast spells to make the entrance to the stairway look like the rest of the floor and Imogen spreads some ball bearings at its top. The room below has two doors and an artifact on an ominous-looking pedestal, the alleged "Journal of Vespin Chloras". While the party debates taking it with them, Chetney lockpicks and opens both doors revealing more exhibits. FCG's Detect Magic reveals the direction in which the earring they seek lies, but when Chetney moves toward the door leading there, he triggers the floor dropping and dumping him onto a greased slide into darkness and a soft, translucent floor.
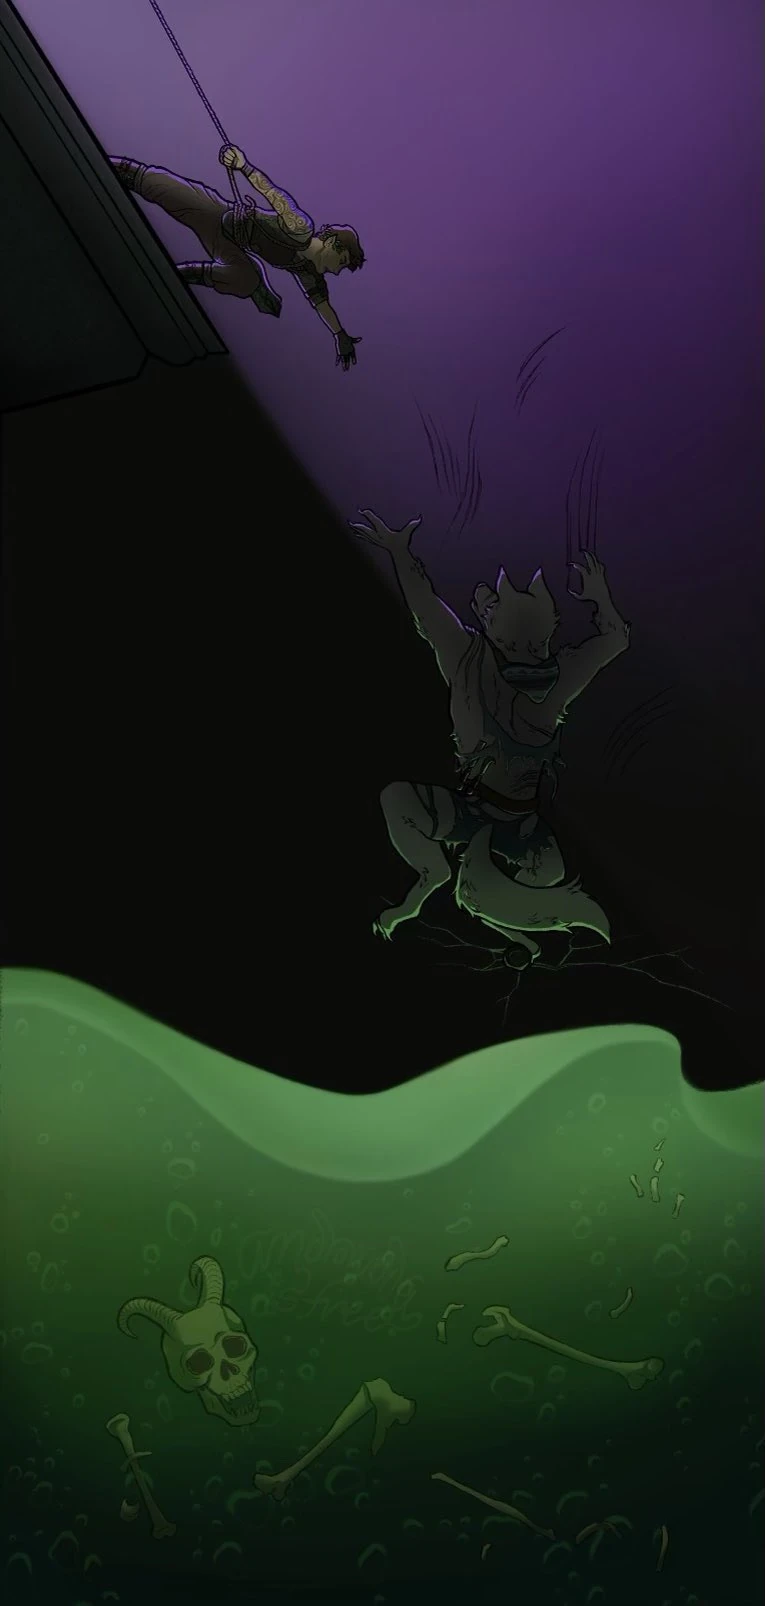
Fan art of Orym and Chetney, by andromedaisfree.[art 4]
As Chetney drives a piton into the wall of the small chamber he finds himself in, he realizes he is sinking into the floor. He manages to pull free and transforms into his wolf form, climbing precariously onto the piton. The group above ties a rope around Orym and lowers him down the chute, but the rope isn't long enough to reach Chetney, who notices the floor rising as he begins taking acid damage. They then tie Ashton's ten feet of rope to FCG's twenty-foot grappling hook and add that to Orym's rope, but that still leaves him ten feet above the transformed Chetney as the floor continues to rise and swallow him. To gain the additional feet needed, they make a human chain and Chetney leaps toward the now-closer Orym, barely grasping his hand.
The group tries to pull Orym and Chetney upward, barely succeeding, but as they reach the top of the chute the seriously wounded Chetney succumbs to his Order of the Lycan bloodlust and attacks Orym. Imogen casts Command on Chetney, ordering him to stop, and FCG heals him just enough that he regains control.
Imogen is able to open the door to the next chamber using Telekinesis, but all they can see is a large stone lion. She swings over the pit that opened under Chetney to reach the room beyond, joined quickly by the others. While checking for traps, Chetney notices two tiles that are different and warns the party to avoid them. He picks the lock and opens the door.
FCG's Detect Object immediately identifies the glass case inside the room in which the earring is held, but Chetney notices the two humanoid-shaped alcoves in the room are starting to change color to a deep earthy brown as a substance pours into them and begins forming quickly. They rush to try to break the glass but it is very strong and even Ashton's hammer is only causing slight damage to it. As the humanoid creatures fully form, the party redoubles their efforts both physical and magical to little effect. Two humanoid constructs made of shifting clay emerge, their eyes burning red where their faces would be.
Featured characters
Bells Hells
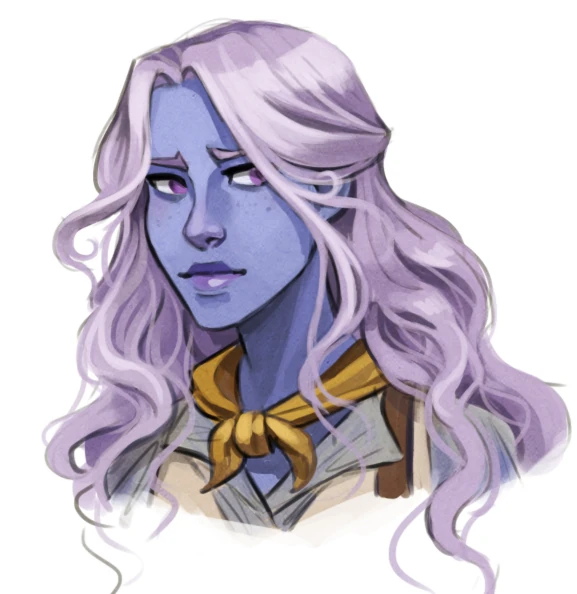
Fan art of Imogen, still blue, by @mellifera38.[art 5]
Returning
Mentioned
- Eldor Trornak, pirate captain of the Hungry Fathom, ghost ship of the Hespet Archipelago
- Harudan
- Vespin Chloras
- Yuana Bretei, high cleric of the Lawbearer during the great siege of Vasselheim
Quotations
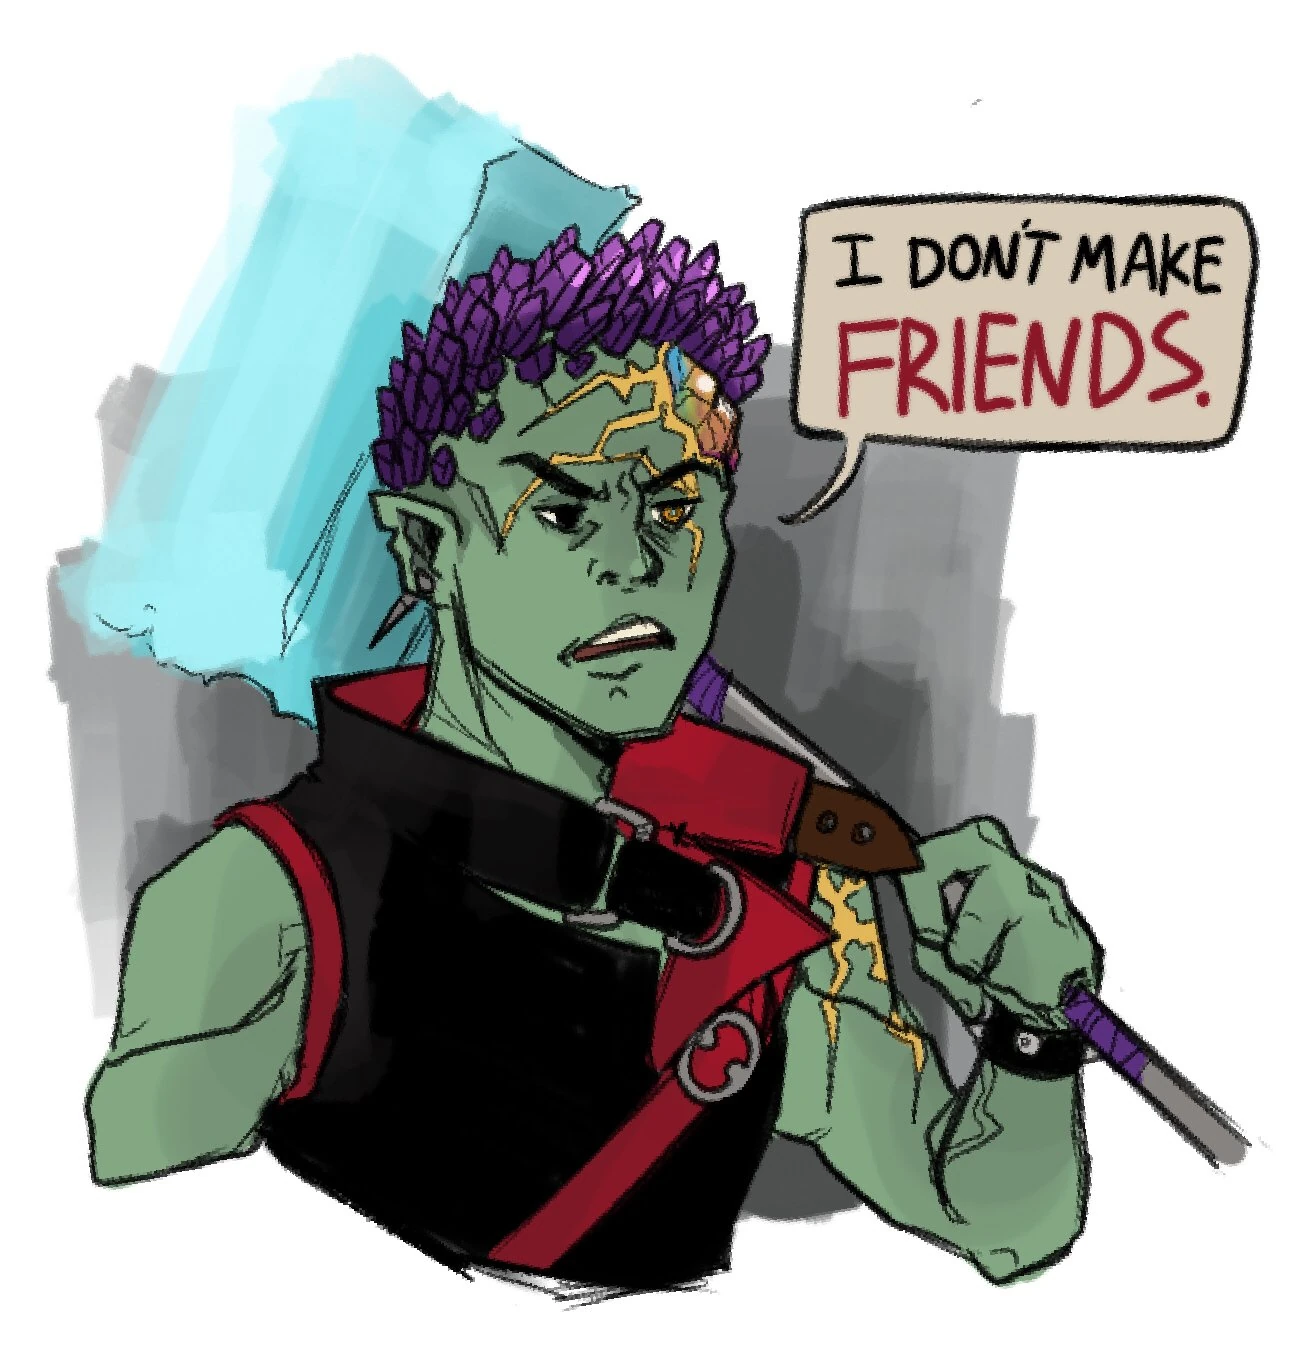
Fan art of Ashton, by Dylan Chinn.[art 6]
- Ashton: (after resisting a Charm Person) I don't make friends! Come on!
- FCG: (brainstorming how to get through metal bars) I could slowly eat it. No, I'm just going to cut.
- Fearne: (after the marionette fight) I'm really sorry, Chetney. It just turns out I'm really good at killing wood.
- Liam: (after Chetney attacks him) I'm going to swing my other hand down and grab his hand through the pain with two hands, because it's been one the whole time, and still hold on.
Chetney: (in wolf form) I'm sorry.
Liam: Oh, I'm bleeding heavy and I'm really fucking pissed, but I'm holding on.
Chetney: (in wolf form) Sorry.
Imogen: Are you in control?
Chetney: (in wolf form) Yes.
Fearne: What was that? Why were you so mad?
Chetney: (in wolf form) I don't know. - Orym: I'll stand in front of people. That's my job.
Inventory
| Adjustment | Count | Item | Source | Destination | Notes |
|---|---|---|---|---|---|
| Acquired | 10 feet | Rope | The Verdict | Ashton | Ashton recovered it when the katari and goblin cut it behind them. |
| Acquired | 1 each | Sacks of flour and lentils | the kitchen | Orym | |
| Acquired | 1 each | Salt & pepper shakers | the kitchen | Fearne | |
| Expended | some | Ball bearings | Imogen | Various spots within the museum | |
| Expended | 1 each | Sacks of flour and lentils | Orym | The secret entrance behind the painting | Used to booby trap the door and the floor just inside it. |
| Expended | 1 | Eversmoking Bottle | Chetney | Room in the museum | |
| Expended | 1 | Piton | Chetney | Gelatinous-floored room in the museum |
Trivia
- Sam's jerrycan shows a wheel labeled "Ruidus Moon Phases" which he progresses throughout the episode.[1]
- The ellipses in this episode's title, as well as "Fight at the Museum..." (3x21), may be a reference to Evon Hytroga's strong use of ellipses on the plaques in his museum.
References
Art:
- ↑ Official art of the Wind Folly earring, by Azraelion (source). This file is a copyrighted work. Its use in this article is asserted to qualify as fair use of the material under United States copyright law.
- ↑ Fan art of Chetney after the booby traps, by Dylan Chinn (source). Used with permission.
- ↑ Fan art of the party hallucinating, by Elaine Tipping (source). Used with permission.
- ↑ Fan art of Orym and Chetney, by andromedaisfree (source). Used with permission.
- ↑ Fan art of Imogen, still blue, by @mellifera38 (source). Used with permission.
- ↑ Fan art of Ashton, by Dylan Chinn (source). Used with permission.
| |||||||||||||||||